
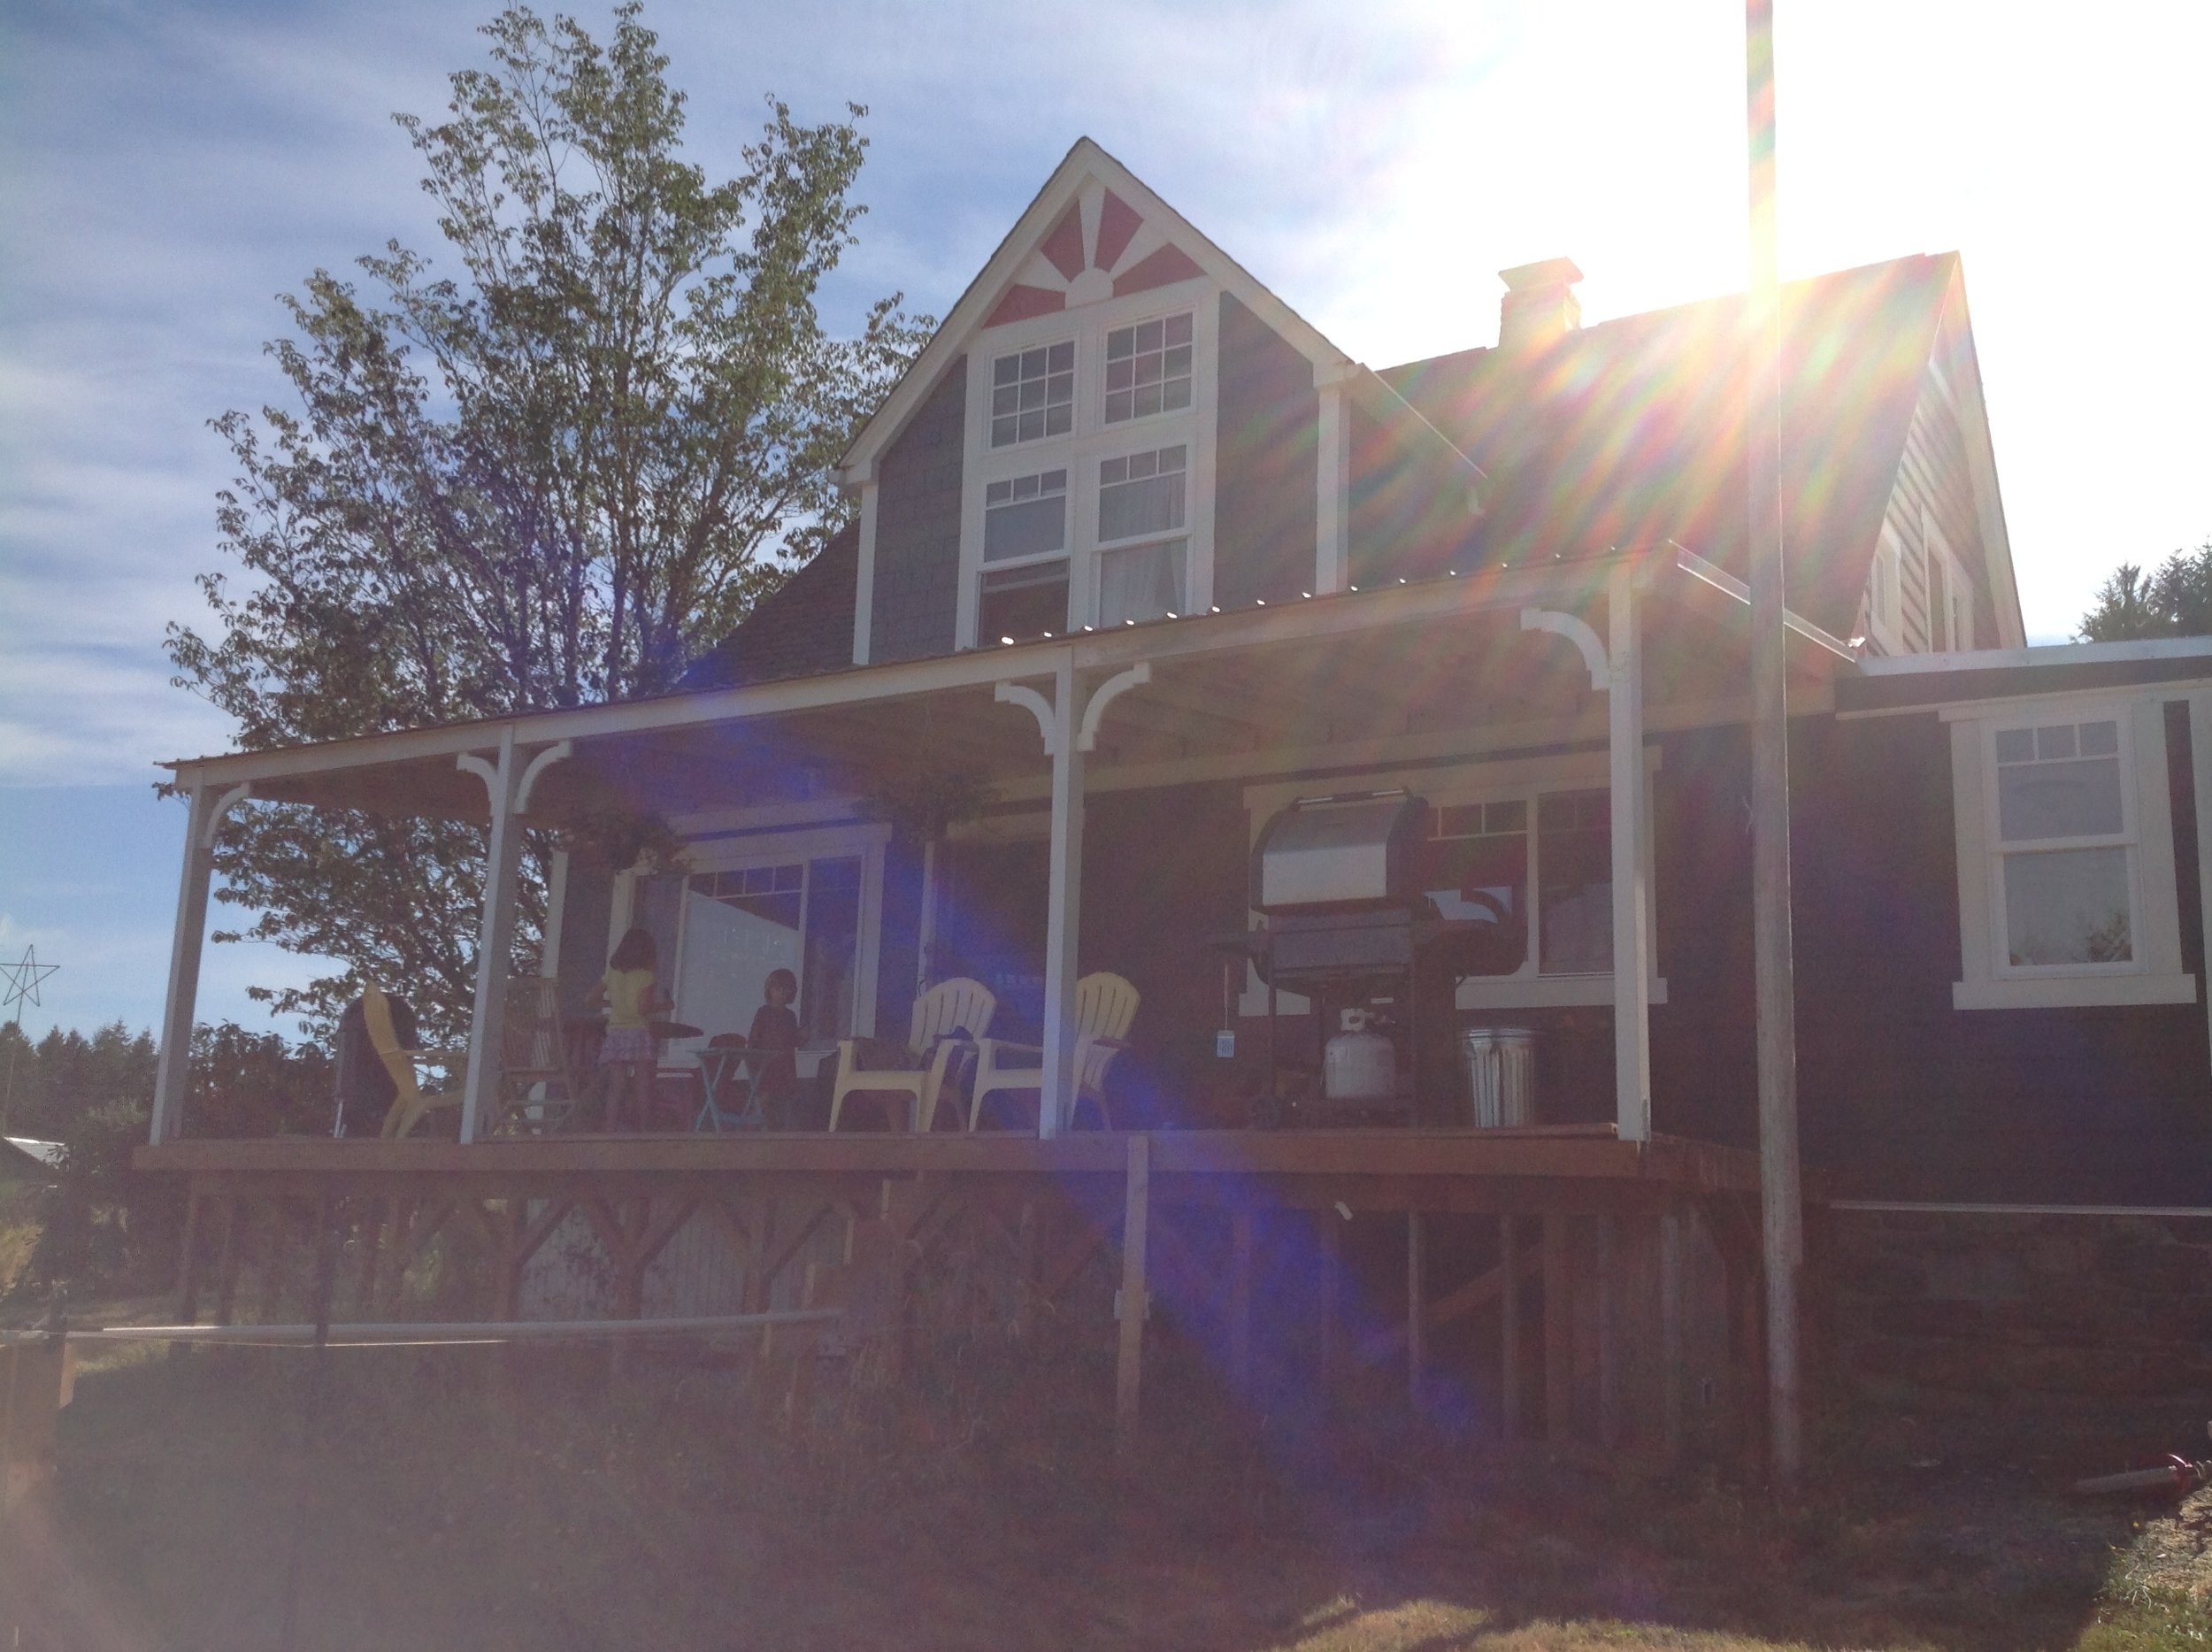
Before and After: Westside Farmhouse


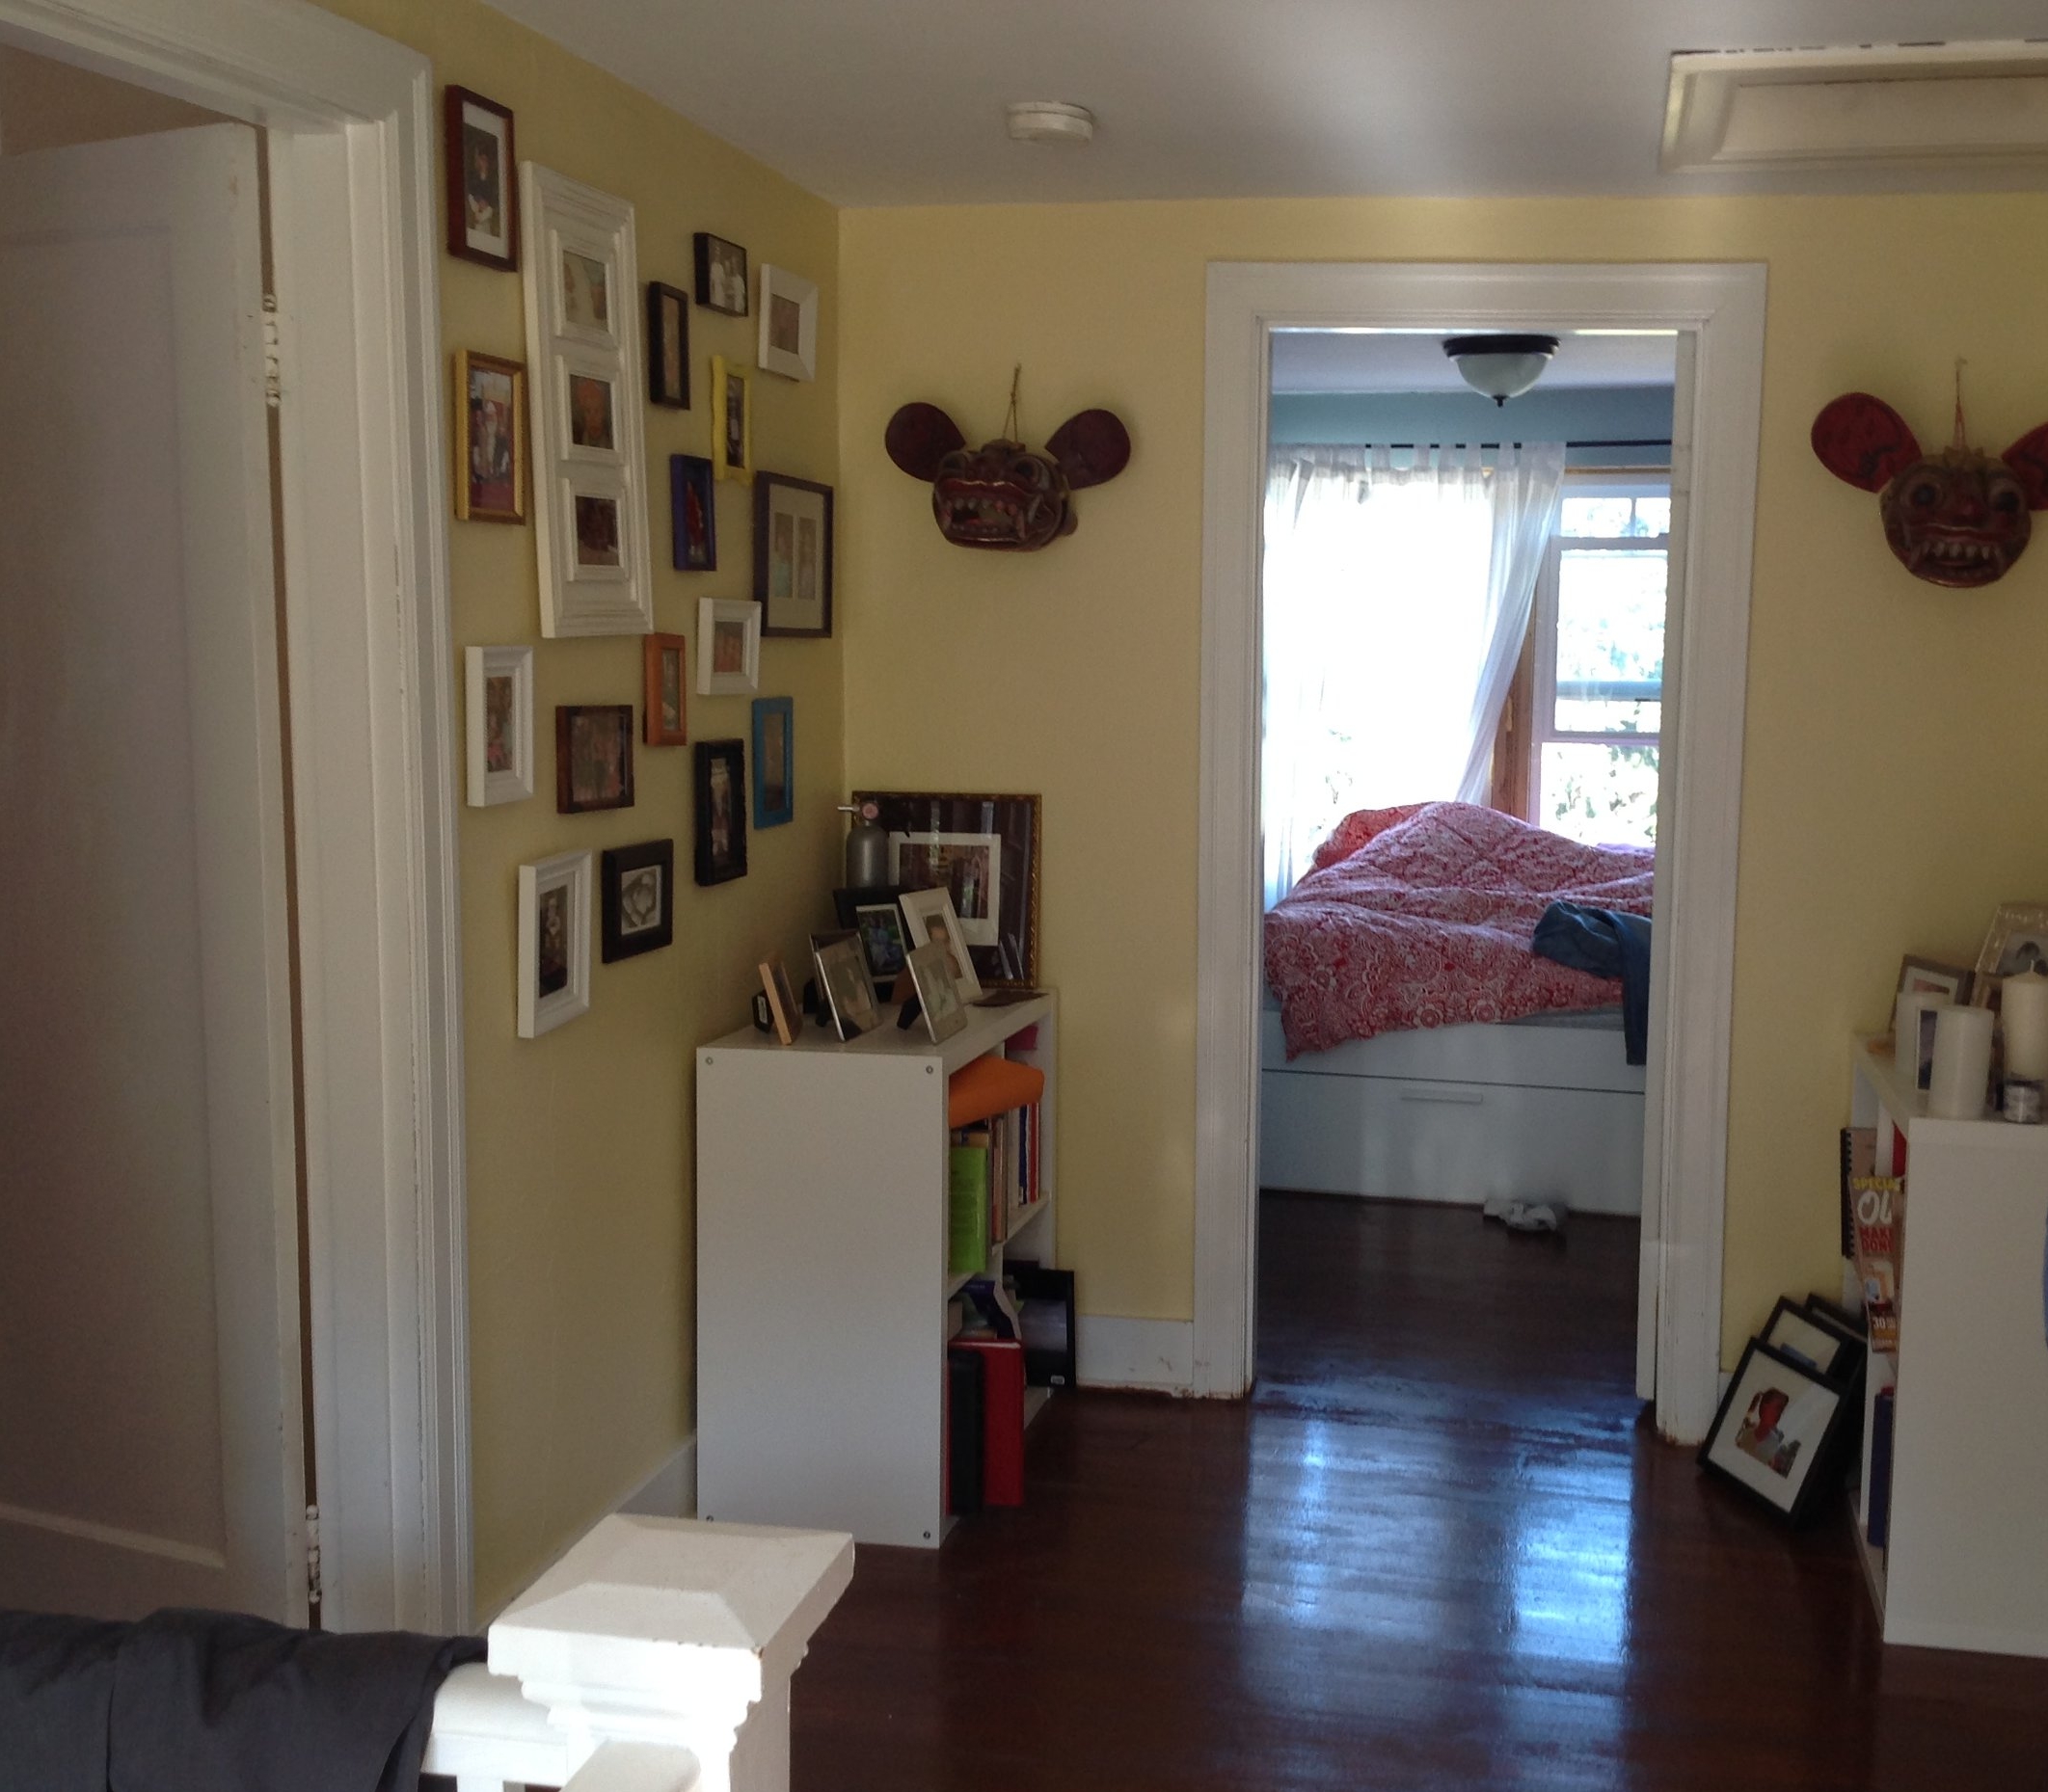


If I am to be honest, when the homeowner called me in the Spring of 2014, then again about 6 months later, and again another 6 months later, I thought this project was not really going to happen. Who knew it was about to be one of the most fun projects with a wonderful family full of kindness, good values, and complete trust in their designer!
I want to set a realistic expectation right away, we started this process in 2015 and these photos were captured Spring 2018, at the point of completion. A major home renovation is a long process, may include breaks, and the more laid-back the schedule is, the more successful the project will become. This project definitely could have been faster, but we took it slow and did the design process in phases. This allowed me to really get to know the family and fully understand their needs as we worked together and became friends.
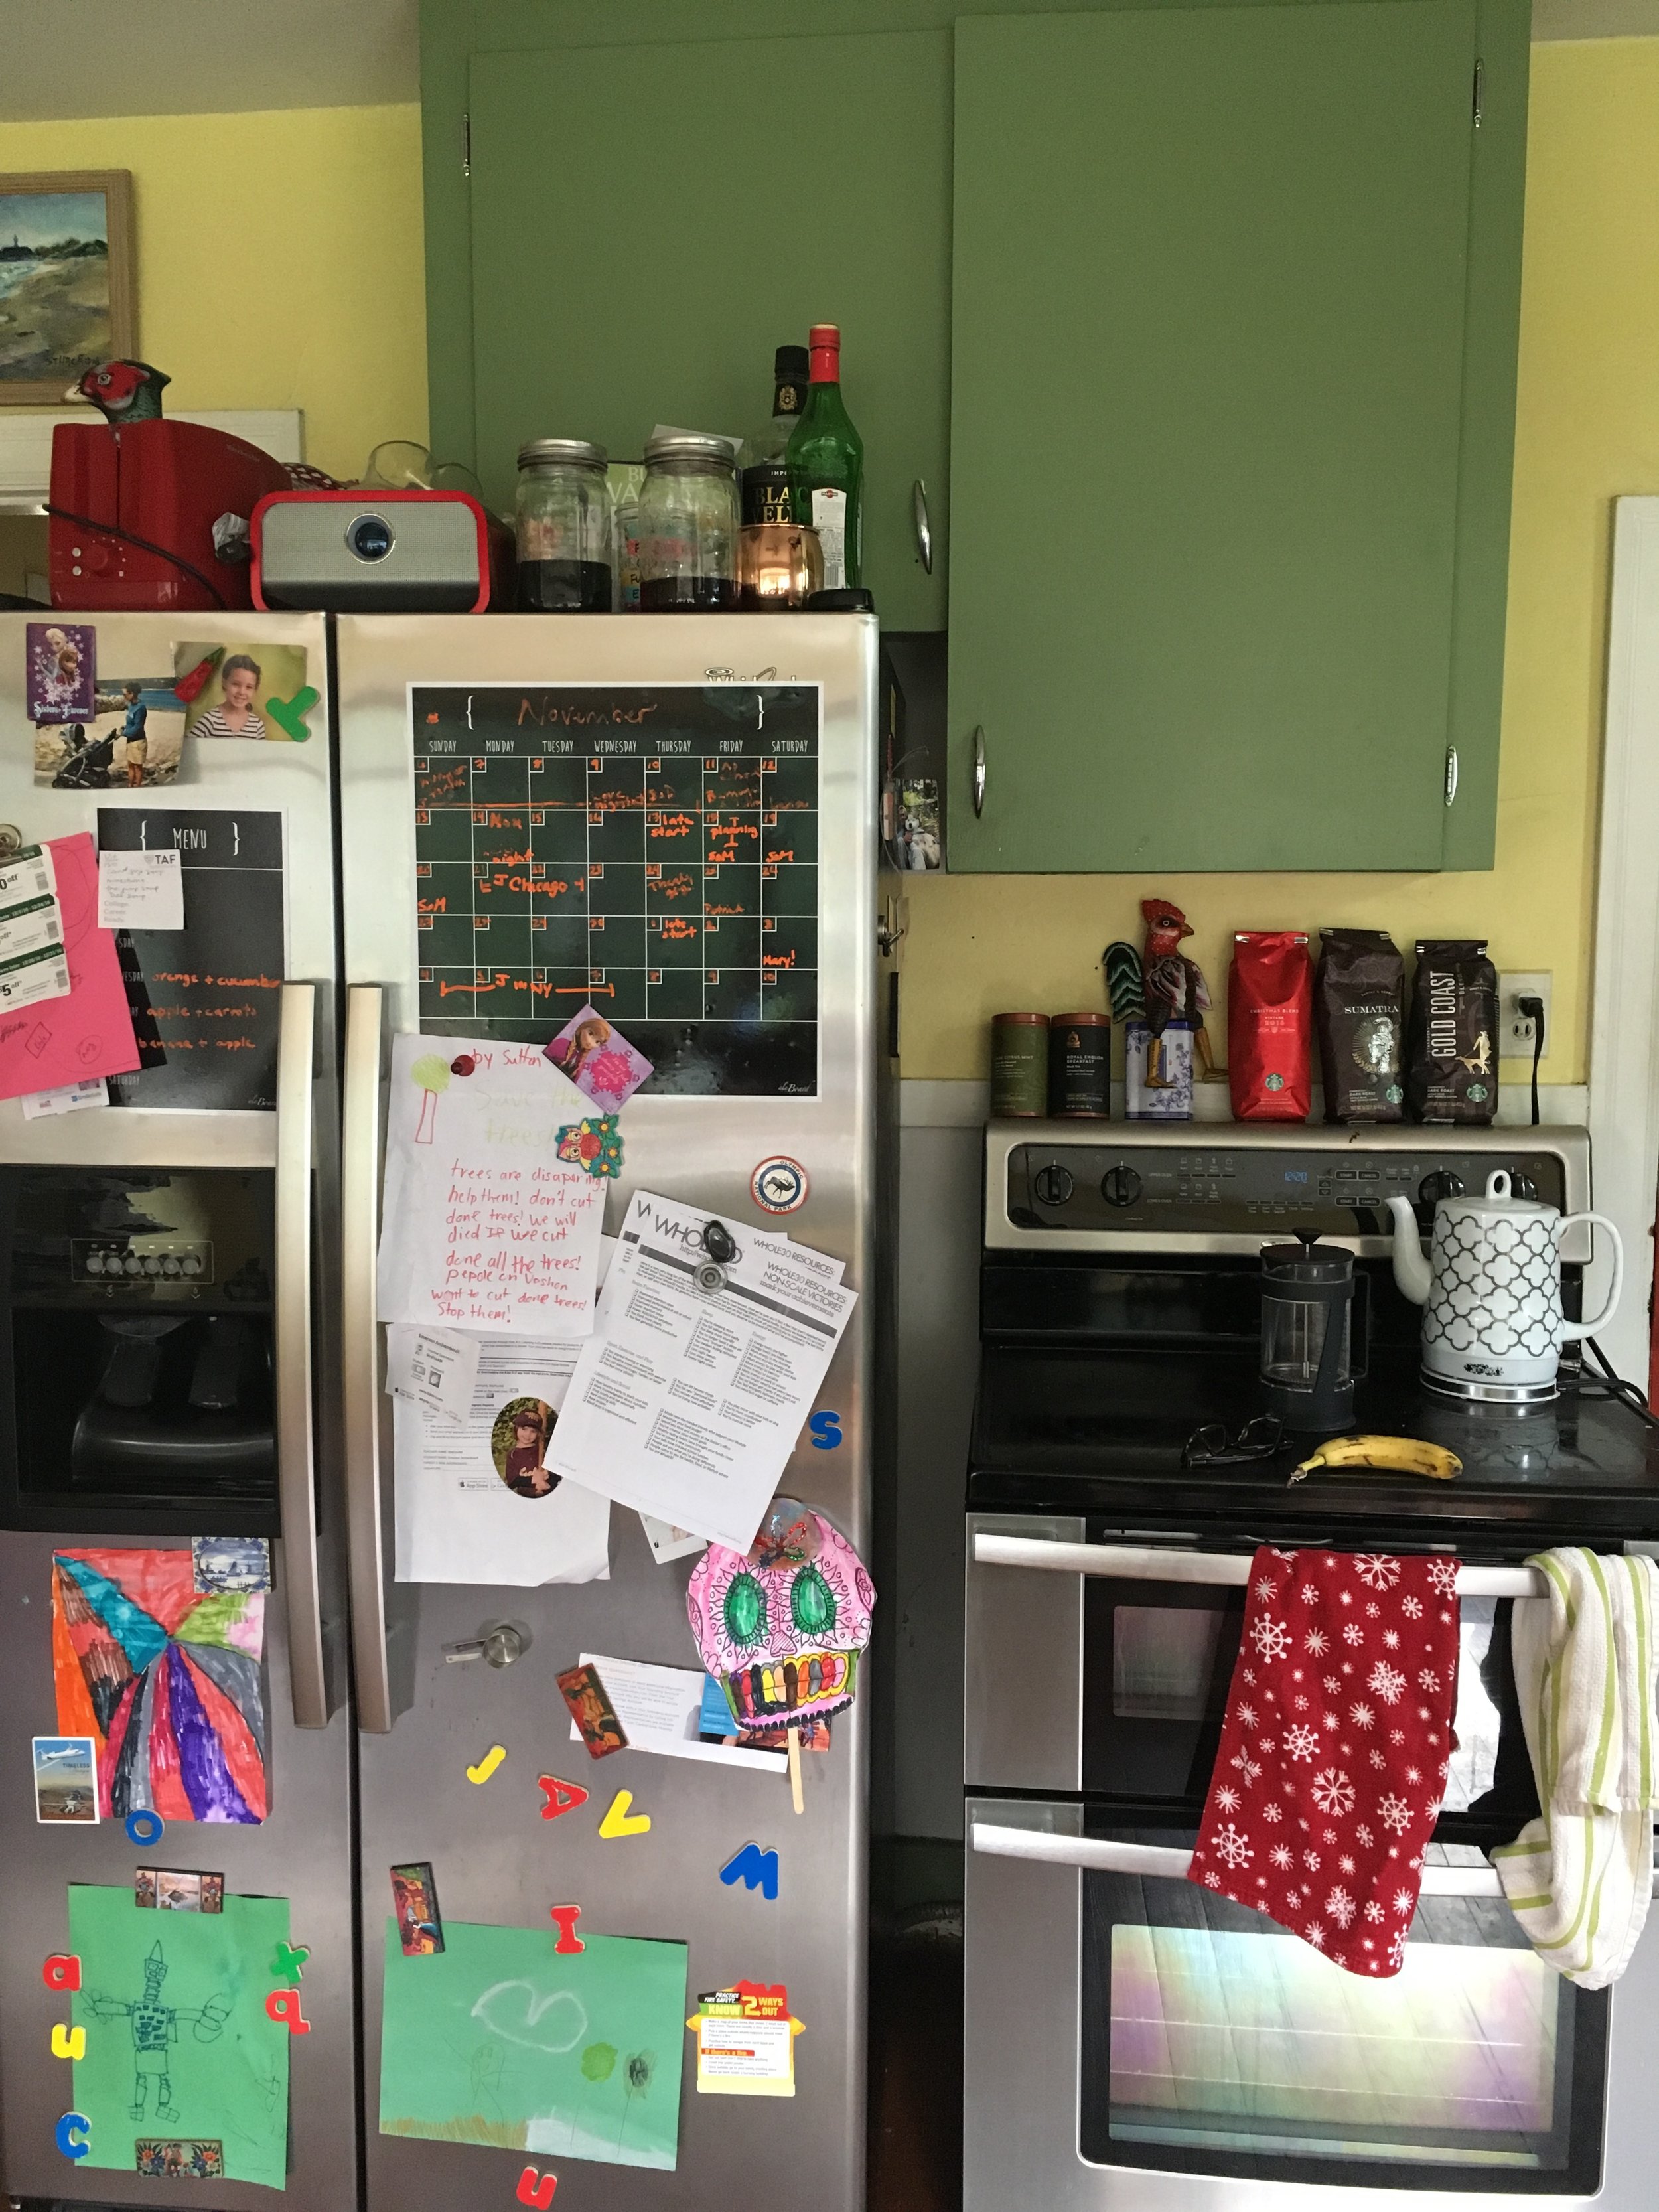
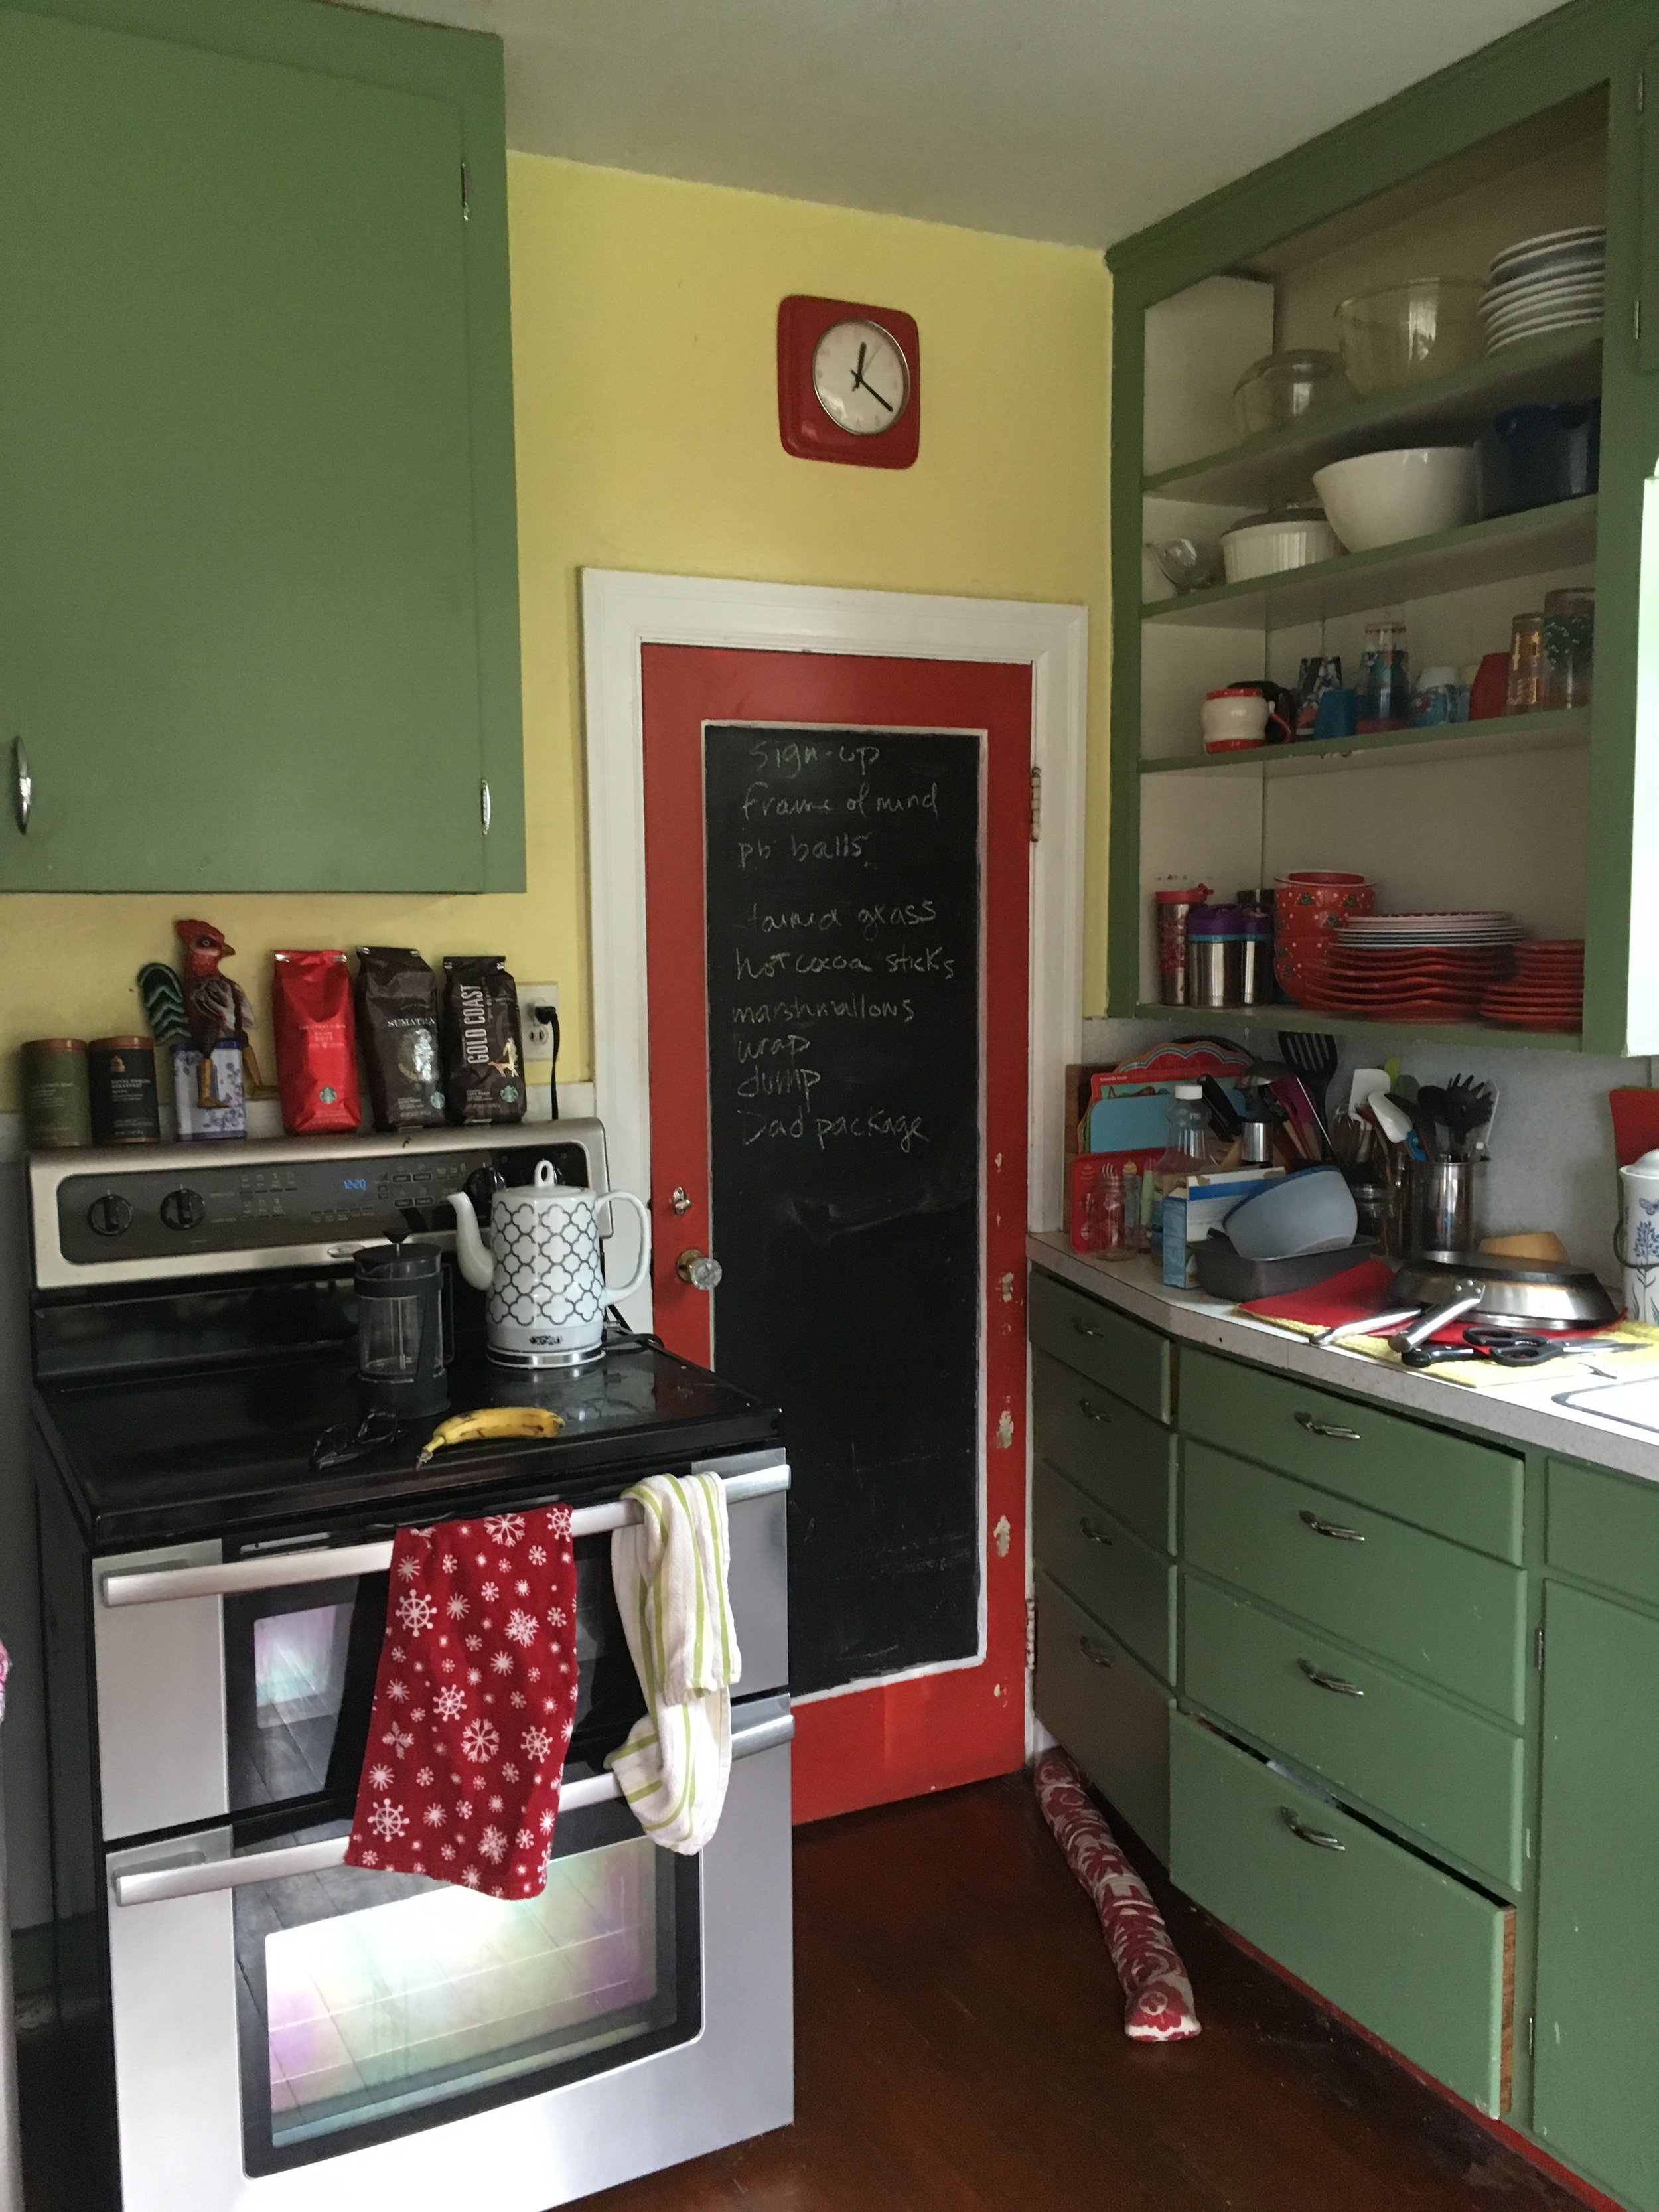
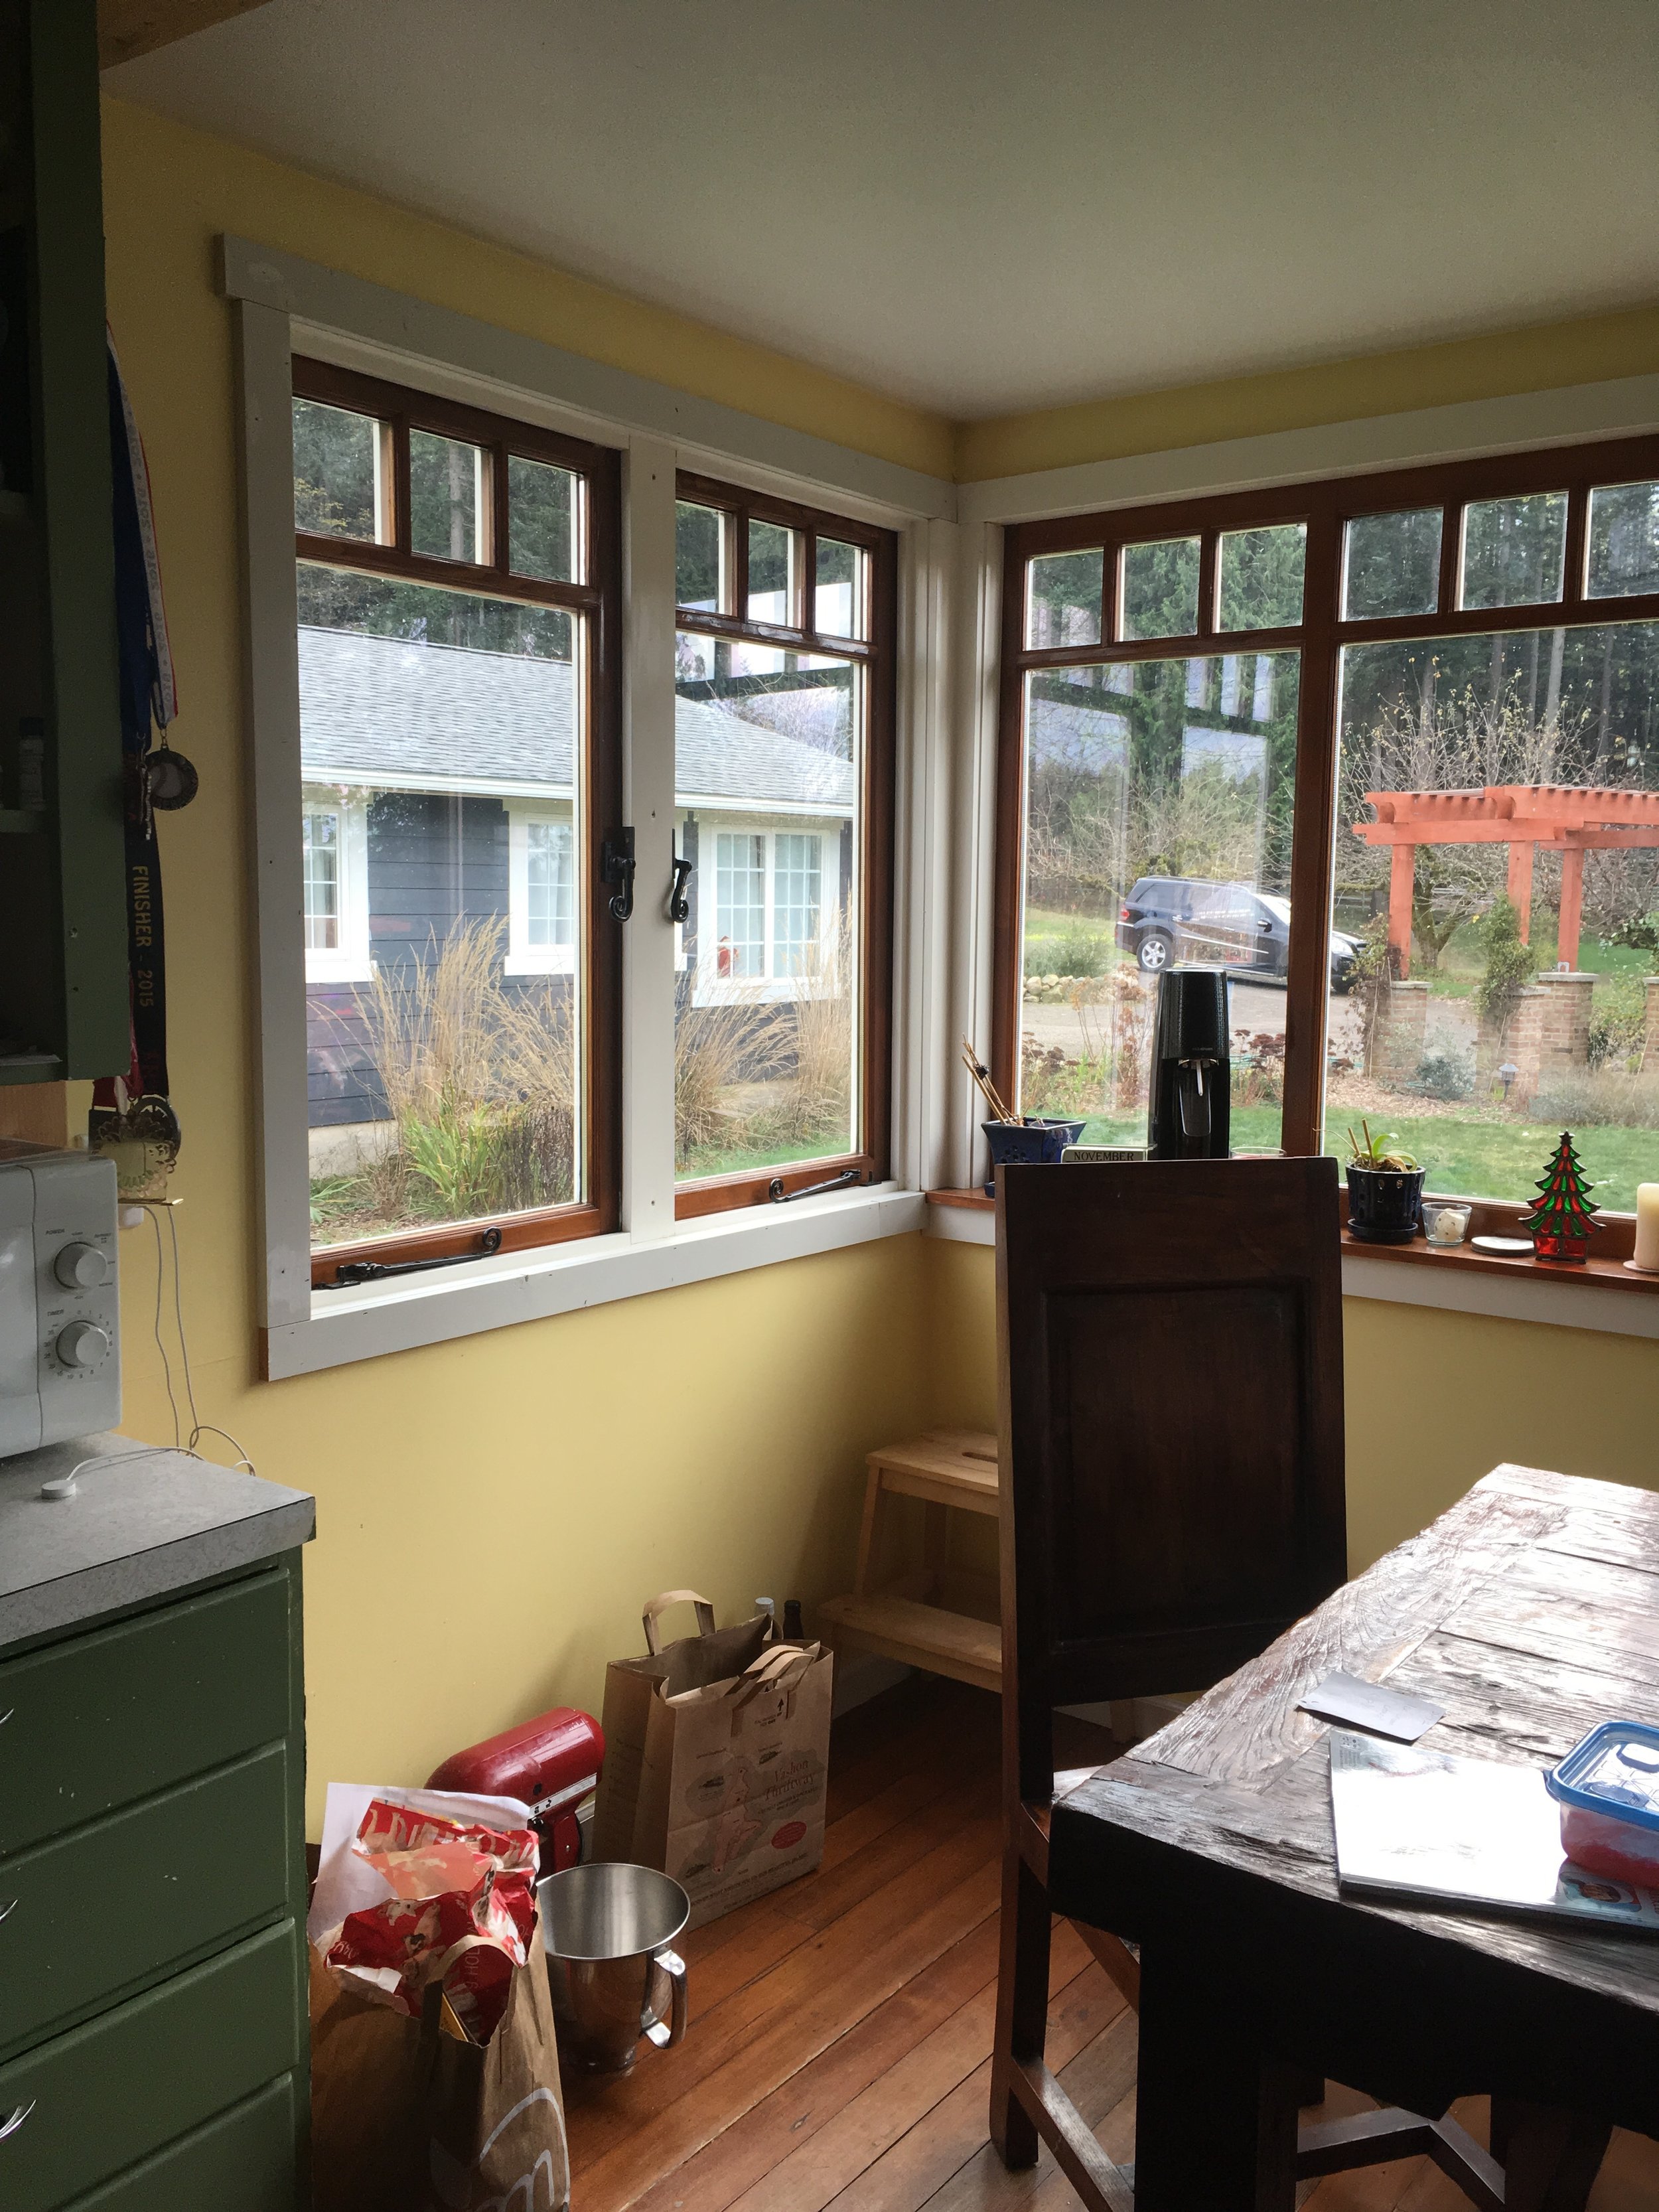
This home instantly became very personal for me because it is so much like my own home- with the 1920's farmhouse styling and need for an upgrade while preserving the original charm. We knew coming into the space that the family wanted to move their kitchen to where the living room currently was and the dining behind it. So, we had a head start on programming. However, we needed to fine tune the layout of these spaces and determine the best route to expanding the downstairs bathroom.
Schematic Development
Our first step was to sketch it all out. The real challenge was the upper floor- preserve three bedrooms and add a bathroom in an already small space. I lost track of how many versions I did before presenting!

We talked about moving the chimney in one option and altering the stairs.

We also discussed a different approach to the stairs, bringing them up to code.

One option was to change the roofline, allowing unusable space to become usable.

Another option was to bump the roofline up on one side of the house only, saving a bit of money and still gaining space.

Finding room for a bathroom when a roof can be bumped up isn't excruciatingly difficult... but....

In the end, I think this was the closest to what ended up happening. Rarely is the concept what the finished design ends up looking like!

We also developed an early look at materiality based on the homeowner's personal style and the aesthetics of the home.

While this is very much what ended up happening, several changes did still happen from here. An important thing to consider when working with a designer is that designs aren't perfect from round #1, they are constantly changing and evolving to reflect what we learn from the owner as we go!
We homed in on the lower plan pretty quickly and begin developing the kitchen design. We had several options here too, but this was the one that was landed on:
You may look at these photos and say, wait- I just looked at the gallery and so much is different! Maybe after seeing HGTV shows where we look at a drawing and the drawing looks IDENTICAL to the after shot (I love Candace Olson, but her drawings are most definitely generated AFTER the project has been implemented and using a photograph to trace).

The downstairs bath ended up changing pretty tremendously from this go! Sadly, the finishes I applied didn't look nearly as good in the rendering as they did as separate photos!
So many steps happened in the evolution of this kitchen- zoning to ensure that the space could be used comfortably and with function and consideration for what the owner's needed to store in each opening, heights of cabinets, working with the windows, door style, final colors, selections of appliances, I could go on forever... and that was just the kitchen. This entire home was completely renovated!
During this phase, we began looking more closely at the home's details- the ceilings upstairs and how we could raise them and align the spaces to the new shape of the ceilings.
Construction Documents and Implementation
This phase tends to be less exciting because it becomes so technical, but by now we had finalized the materiality throughout and were ready to put this into what is essentially an instruction guide for the contractor to use. In this case, the contractor was the homeowner- and while I don't typically encourage this, he did a fantastic job. Honestly, I think it was very stressful for him and for his family, but they pulled it all together quite well, and were good about continuing the conversation with us through implementation so that we could ensure that the design intent was carried through to the end.


The homeowner often communicated through photos to get clarification on paint placement, lighting placement, etc.

Templating for the counters is important because it ensures that everything is level, and flush to the wall, in the case of any wall or cabinet imperfections. This is also where the fabricator gets specs on the sink for the hole in the counter.

This was a proud moment when stopping by to see how things were going and viewing the wonderful job on the tiles and cabinetry.

Thank you Catie Bergman Photography for the wonderful shots as usual!
This may have been the most satisfying project I have done to-date. Having such trust from the homeowners and feeling such design freedom led to a truly beautiful space that fit the homeowners functional and aesthetic needs. I am so proud to have played such a large role in the rediscovery of this perfect little farmhouse!

Shop the Westside Farmhouse look:
Or, better yet- book your own project today!