
Scandinavian Farmhouse: Part II
Those who follow along and read part I of our Scandinavian Farmhouse blog post may have seen the finished images, but what’s the fun of a before & after without some background?
This kitchen was one of our early design-build projects and could not have been as successful as it was without the fantastic family who exhibited patience and grace throughout the entire process. Not only did we get to work with amazing people, we had the opportunity to integratethe home’s character with the family’s lifestyle and heritage!
The Heart of the Home
The old saying “the kitchen is the heart of the home” seems to have been written with this home in mind. Beyond the door, we find ourselves in an entry decorated with art by the two lovely children who live there: a talented ballerina and her younger brother with his own artistic flair.
After the boots and jackets are stowed, we’re thrust right into the kitchen and dining spaces. The dining space hosted a heater which, similar to a fireplace, the family enjoys huddling around together. While an element like that serves a very real need of providing heat on chilly days, it also elevated this part of the house as a significant communal space which became a driving force as we worked through the design.

BEFORE We see the entry beyond the double doorway from the dining area with the kitchen on the left.
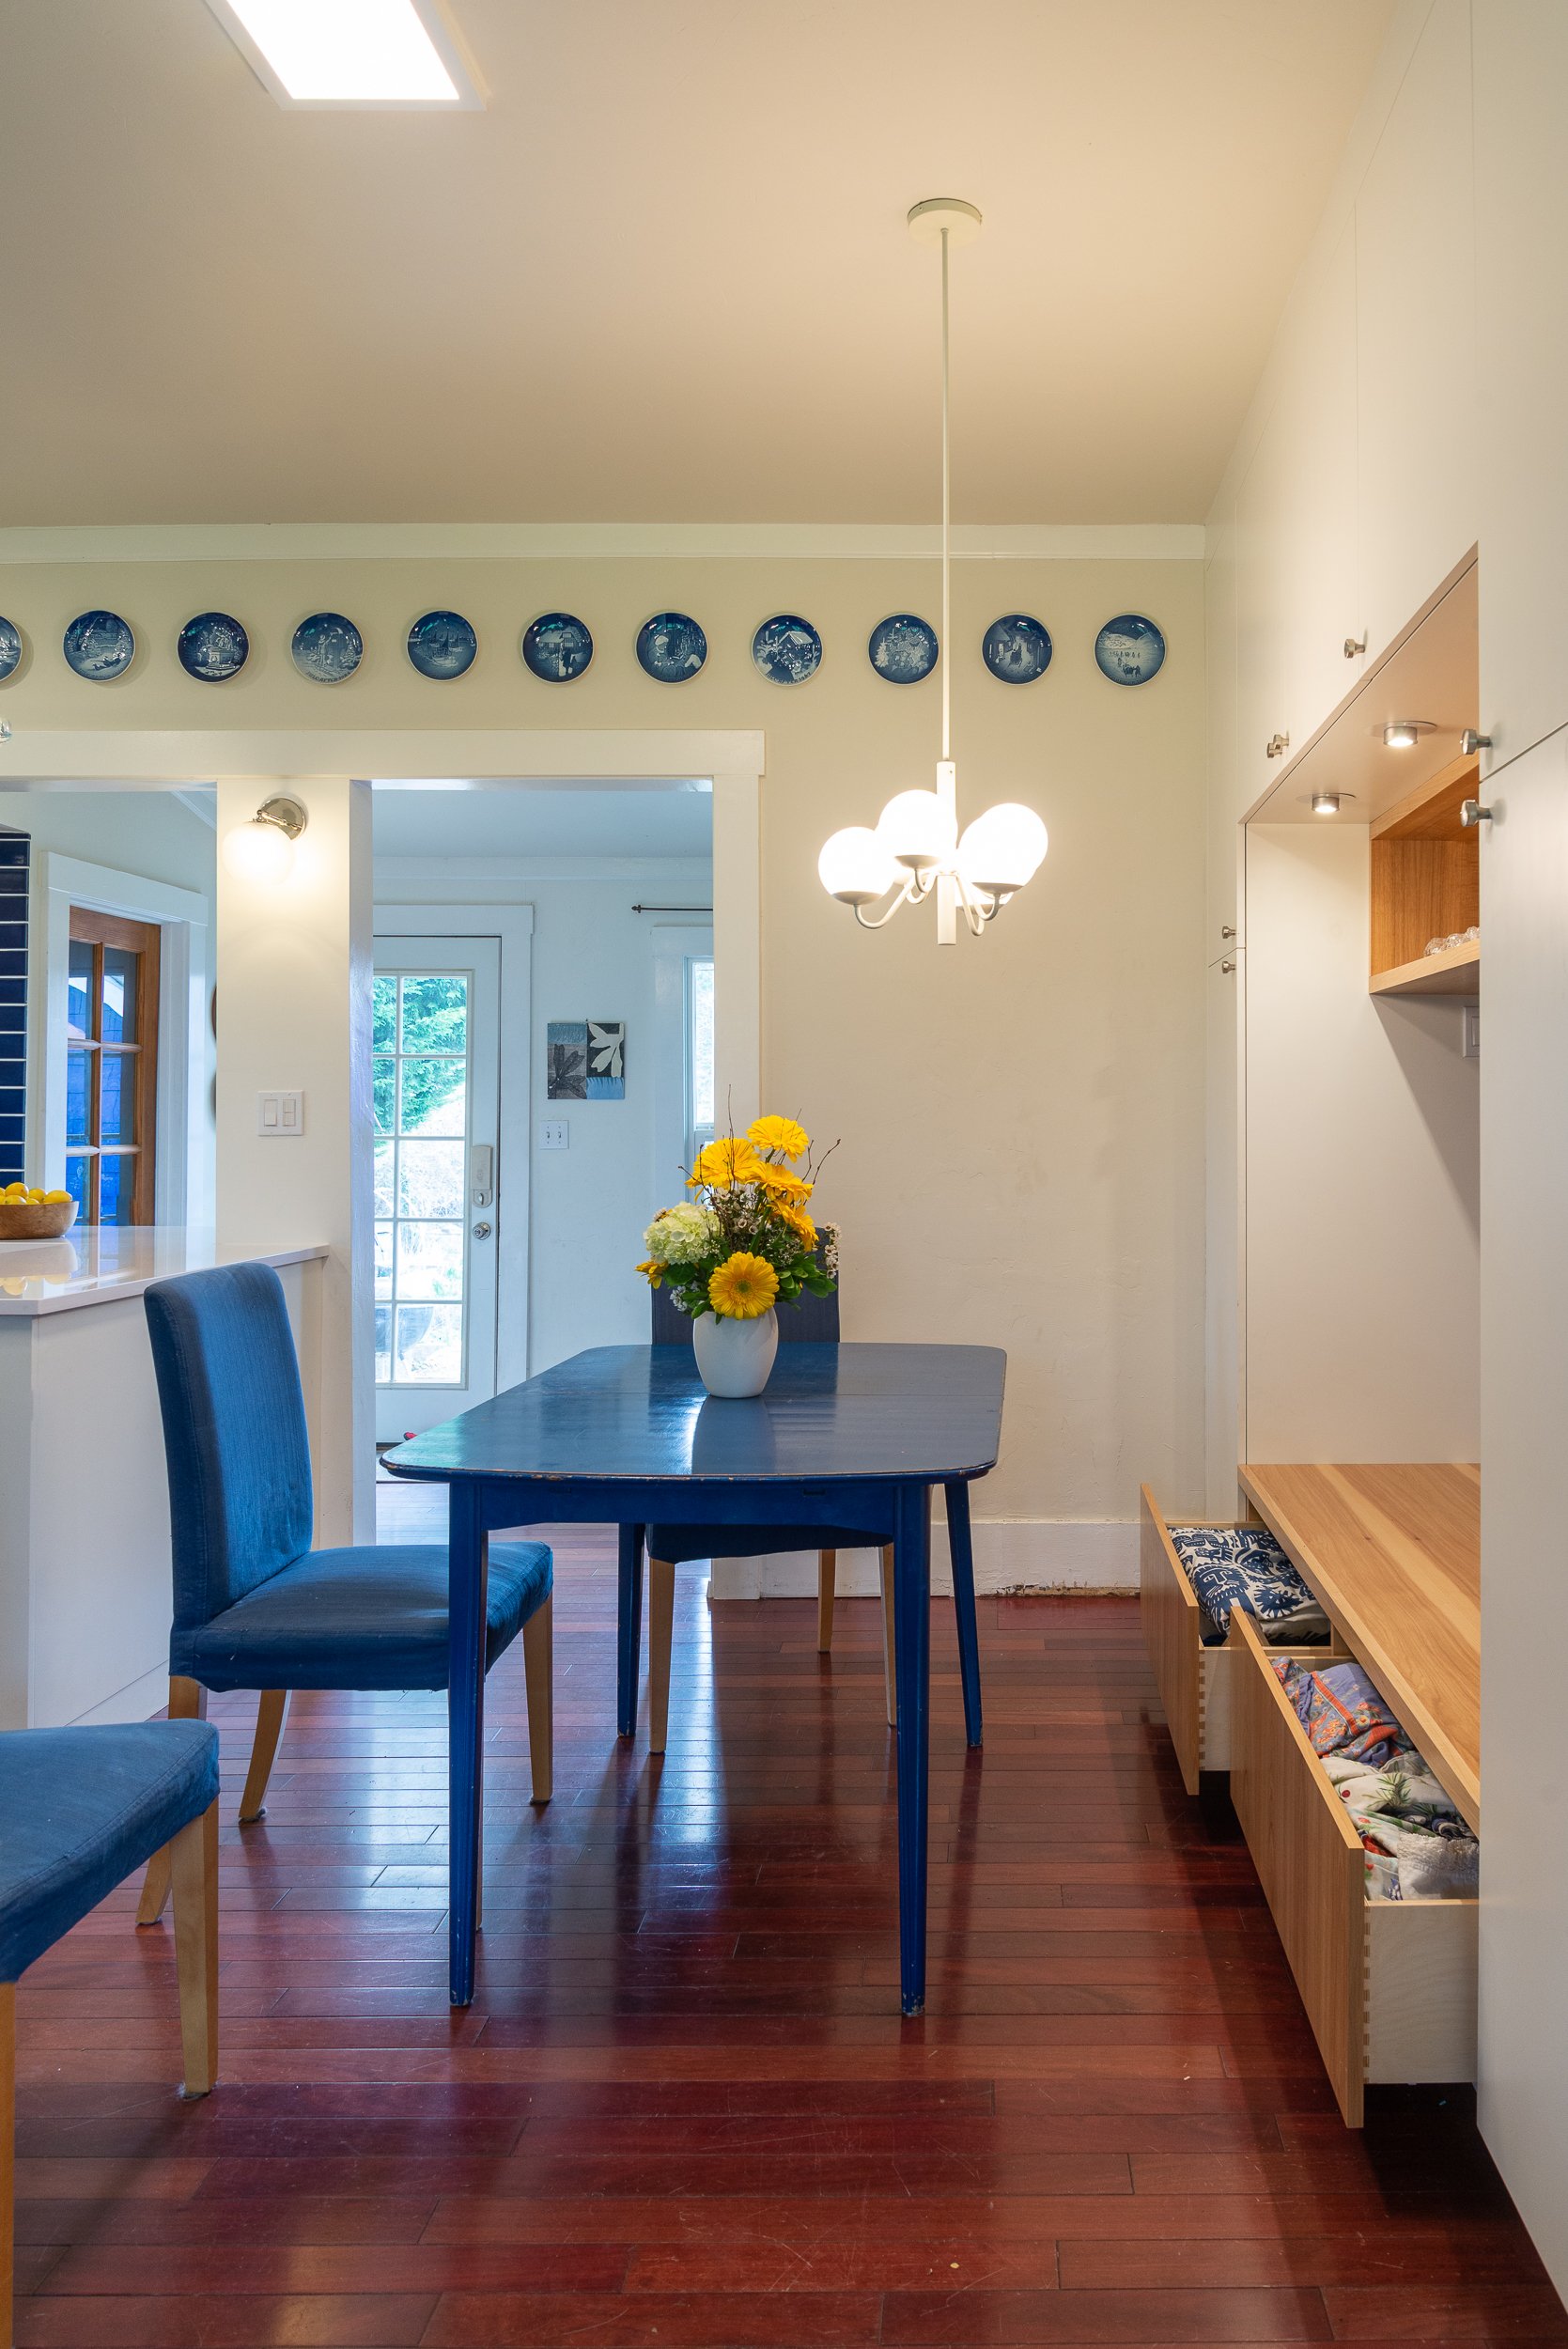
AFTER With the heater removed, the need for a cozy space was important.
During design, we prioritized the space’s coziness by building in a bench seat and storage area. Providing storage in a small home with an active and creative space was a must, and this option not only celebrated their cozy corner, but it also celebrated their Scandinavian heritage with the bright white, airy lighting conditions, and raw wood finishes. Special notice should be paid to the light fixture sourced by the client from Scandinavia, which managed to get lost en route (well worth the wait).
One of our favorite things to do is create space for display while considering clean, minimalistic lines. The original kitchen’s storage was condensed in small repetitive ways which created a cluttered look. On closer inspection, these displayed items all came with beautiful stories and backgrounds. We certainly didn’t want to re-curate these treasures but, instead, provided larger, more dispersed locations for their keepsakes where they can be regarded for what they are.
Comfort Cooking
In addition to their keepsakes, this lovely family shares wonderful cooking traditions, such as regular pancake breakfasts prepared as a family. It became immediately clear to us that cooking was another cozy family activity. With such a tight space, however, we wanted to ensure that “cozy” wasn't confused with “crowded.”
A small built-in refrigerator created an awkward reentrant corner in the adjacent laundry room, which generously provided us with the opportunity to utilize this space and enhance cozy cooking time! An overhead fan was built into the soffited ceiling allowing the range to be tucked away and still accessible.
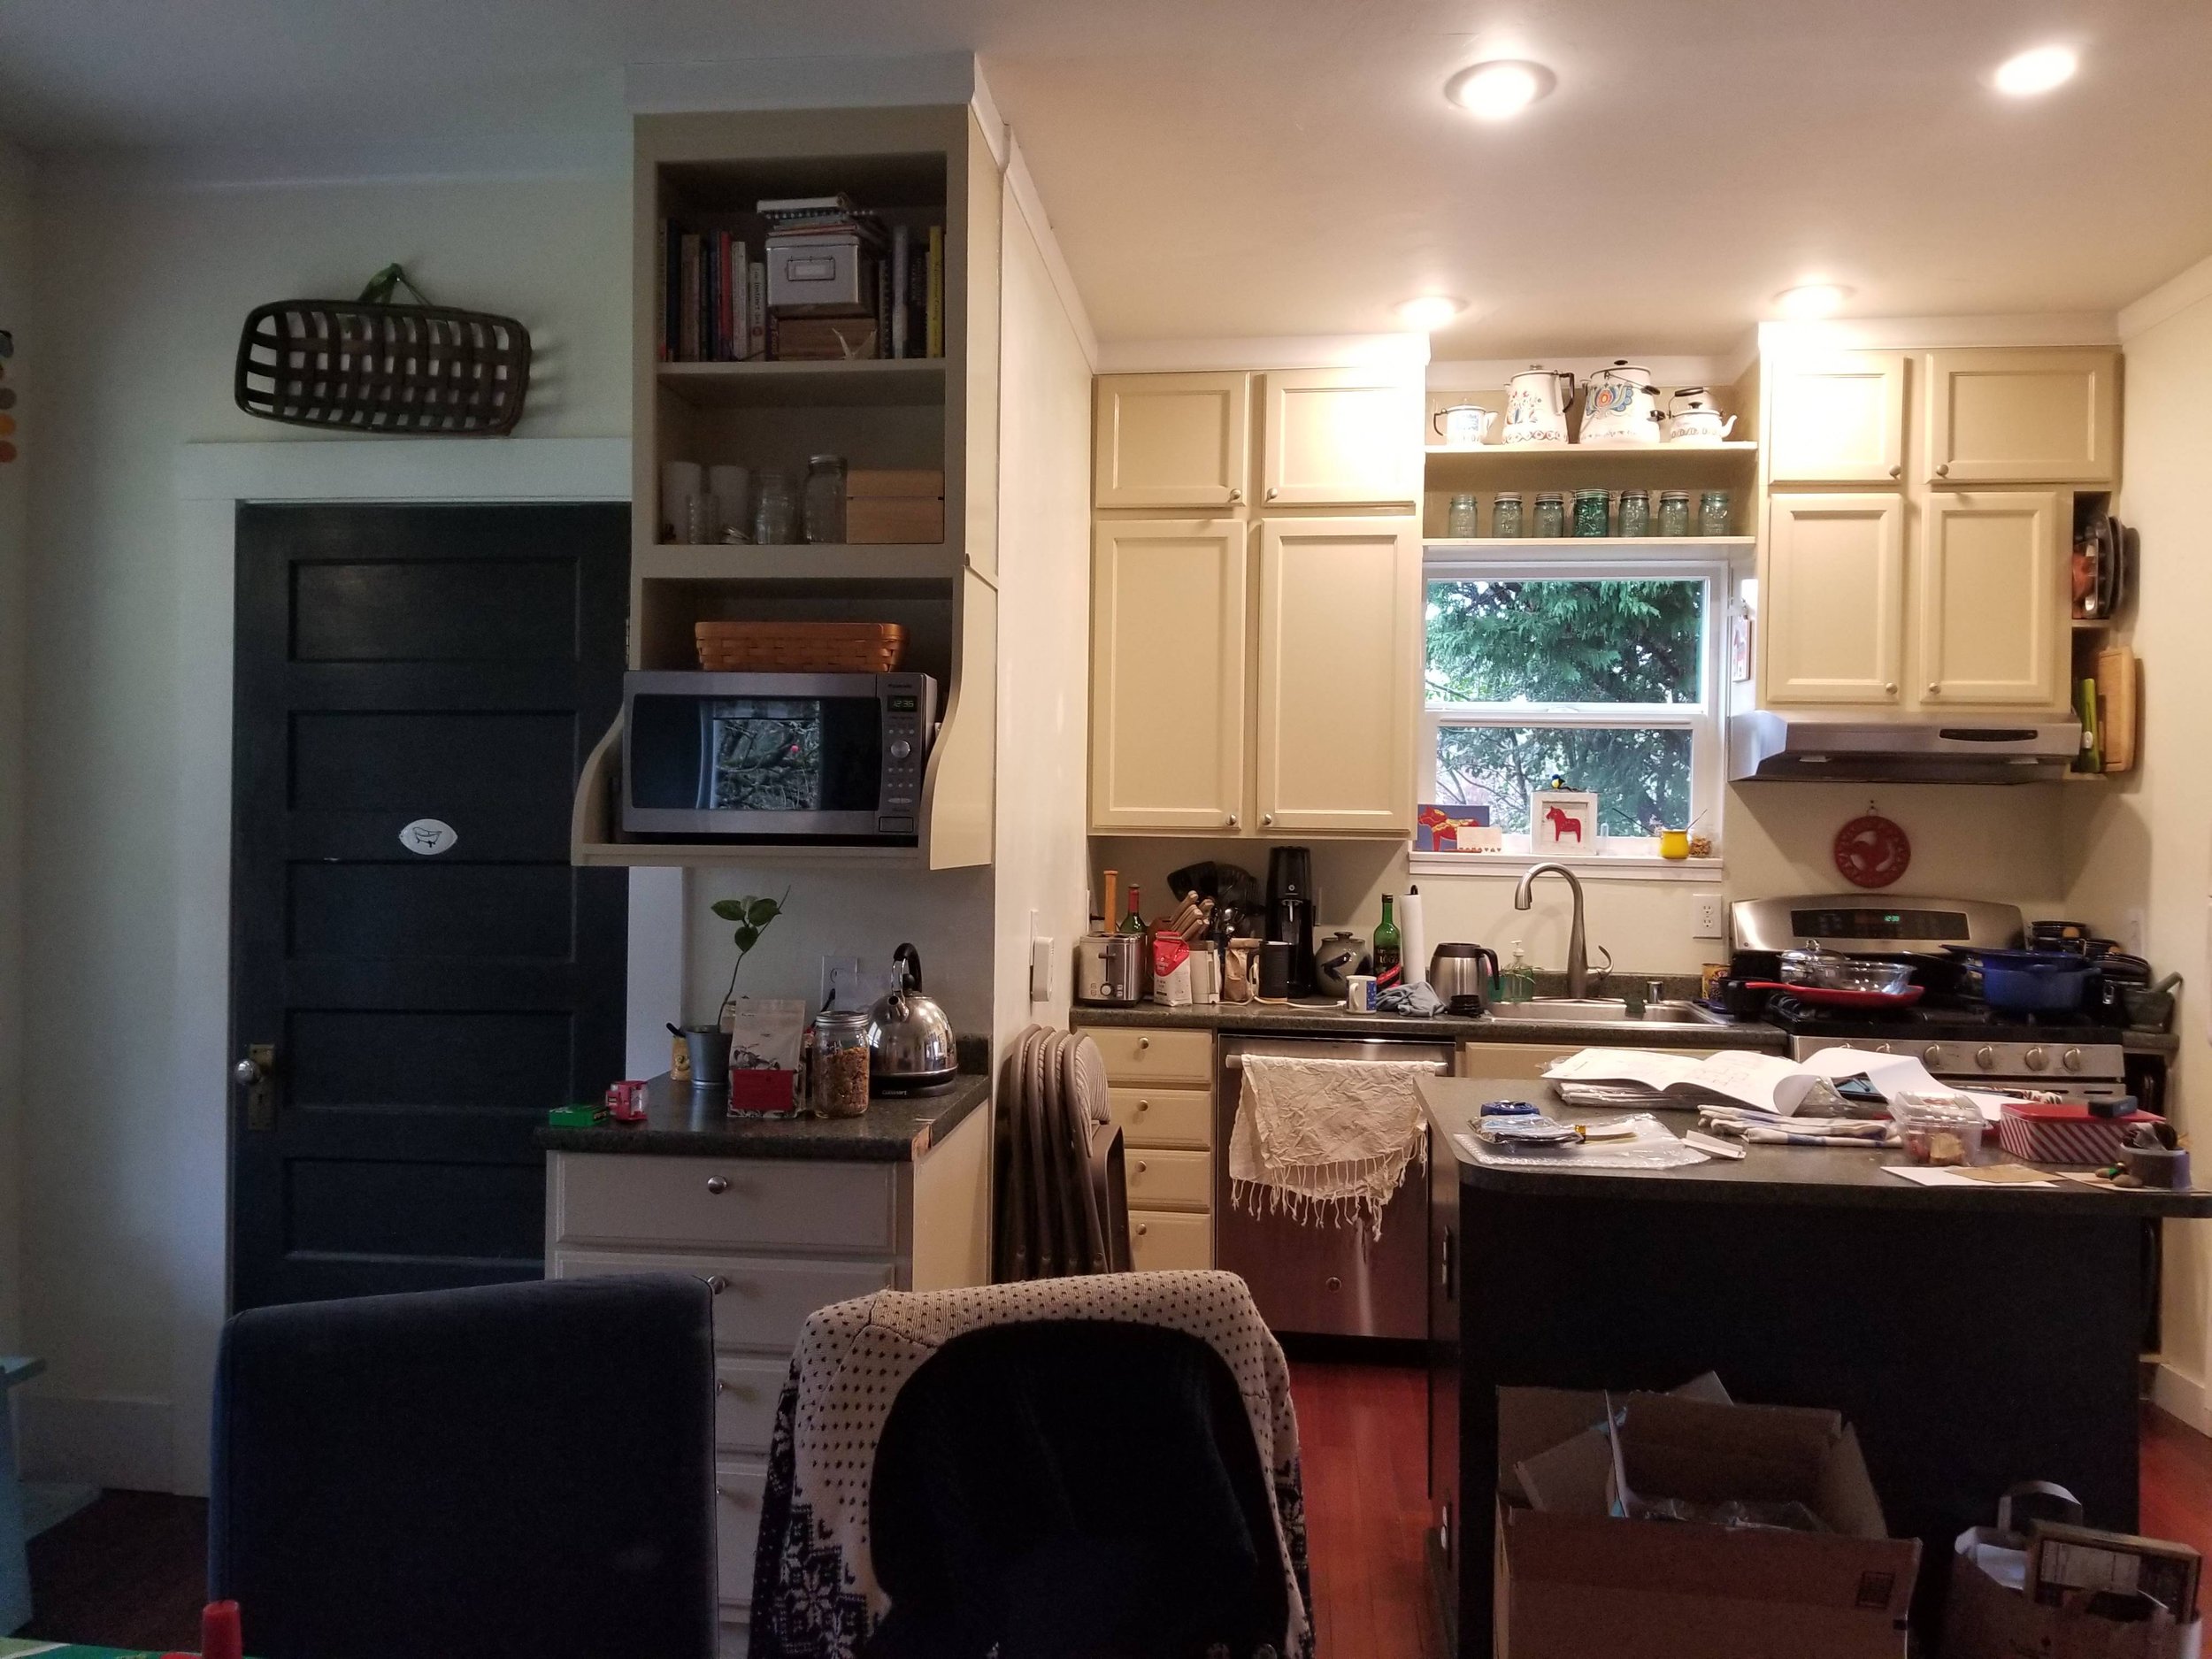
BEFORE The dishwasher, sink, and range can be seen to line up in a very tight row.

AFTER We utilized the space the refrigerator was previously built into for a cozy cooking space on the right which allowed movement at the sink/clean up area.
A New Home for the Refrigerator

BEFORE The refrigerator sits in a built-in space which means a blank wall to the left and a tight squeeze for anyone working at the range.
Our challenge in relocating the refrigerator was that we really had nowhere to put it. In the original space, the sink, range, and dishwasher had been clustered together. So, how does one use a small space without affecting other spaces and resulting in the need for more storage?
If we look at the "before" picture above, a door can be seen to the left of the kitchen. This door leads to a very cute vintage bathroom and as cute as it is, it's rare that anyone wants to see into a bathroom from the dining space (hopefully, it’s very rare!). So, we introduced a new partition to separate the bathroom from the kitchen and create a home for the refrigerator.
The initial concern was that a new partition would block natural daylight. However, we had a solution for this as well: a cut-out in the wall to display stained glass. This provides another opportunity for the inclusion of art and allows natural light to penetrate into the new kitchen space.
As an extra bonus, we added a "skylight" fixture to supplement any lost light due to the partition.

AFTER A little nook built just for the full-depth refrigerator and set back provides extra depth with a counter-depth appearance. Above the refrigerator is a cut-out for a stained glass display.
Simplifying Daily Chores
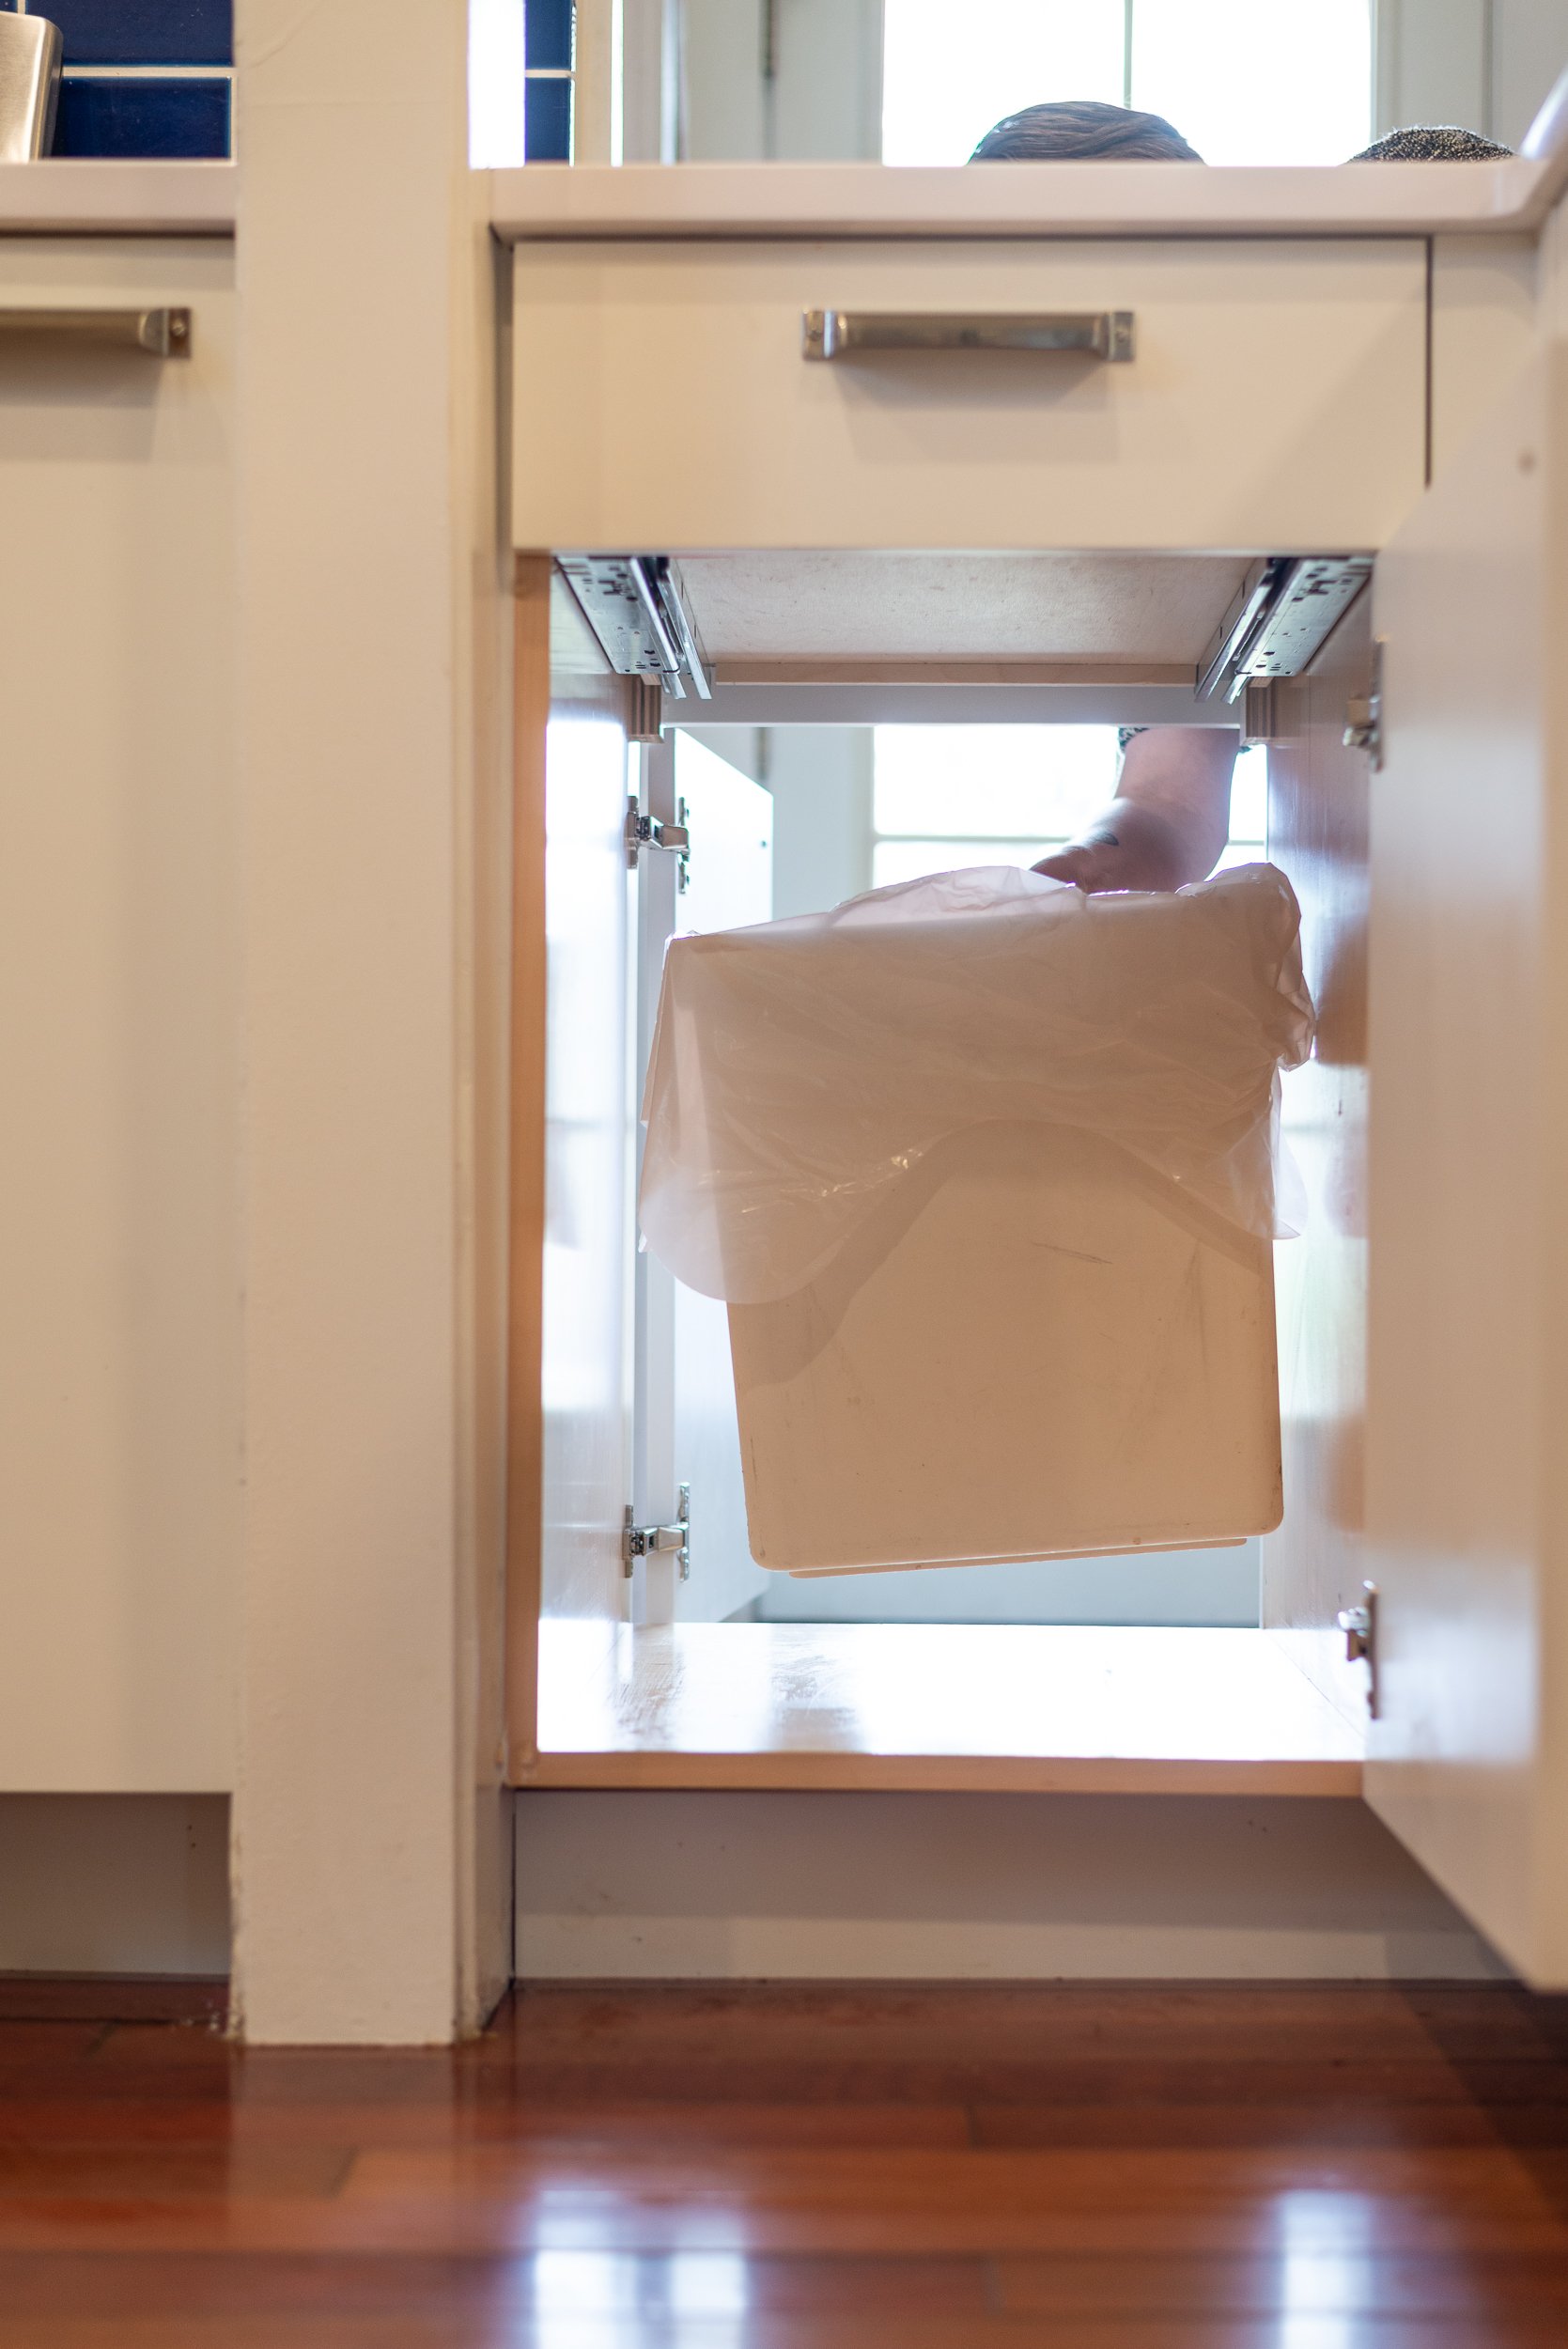
With lighting, cozy dining, cozy cooking, and a home for the refrigerator, our last challenge was that of the garbage. Building in a peninsula meant additional steps around it and out the mudroom, likely resulting in another hurdle to convince the kids to do their chores and is, frankly, a bit of a hassle. We could put the garbage on the outside, but this makes accessing it from the kitchen a challenge.
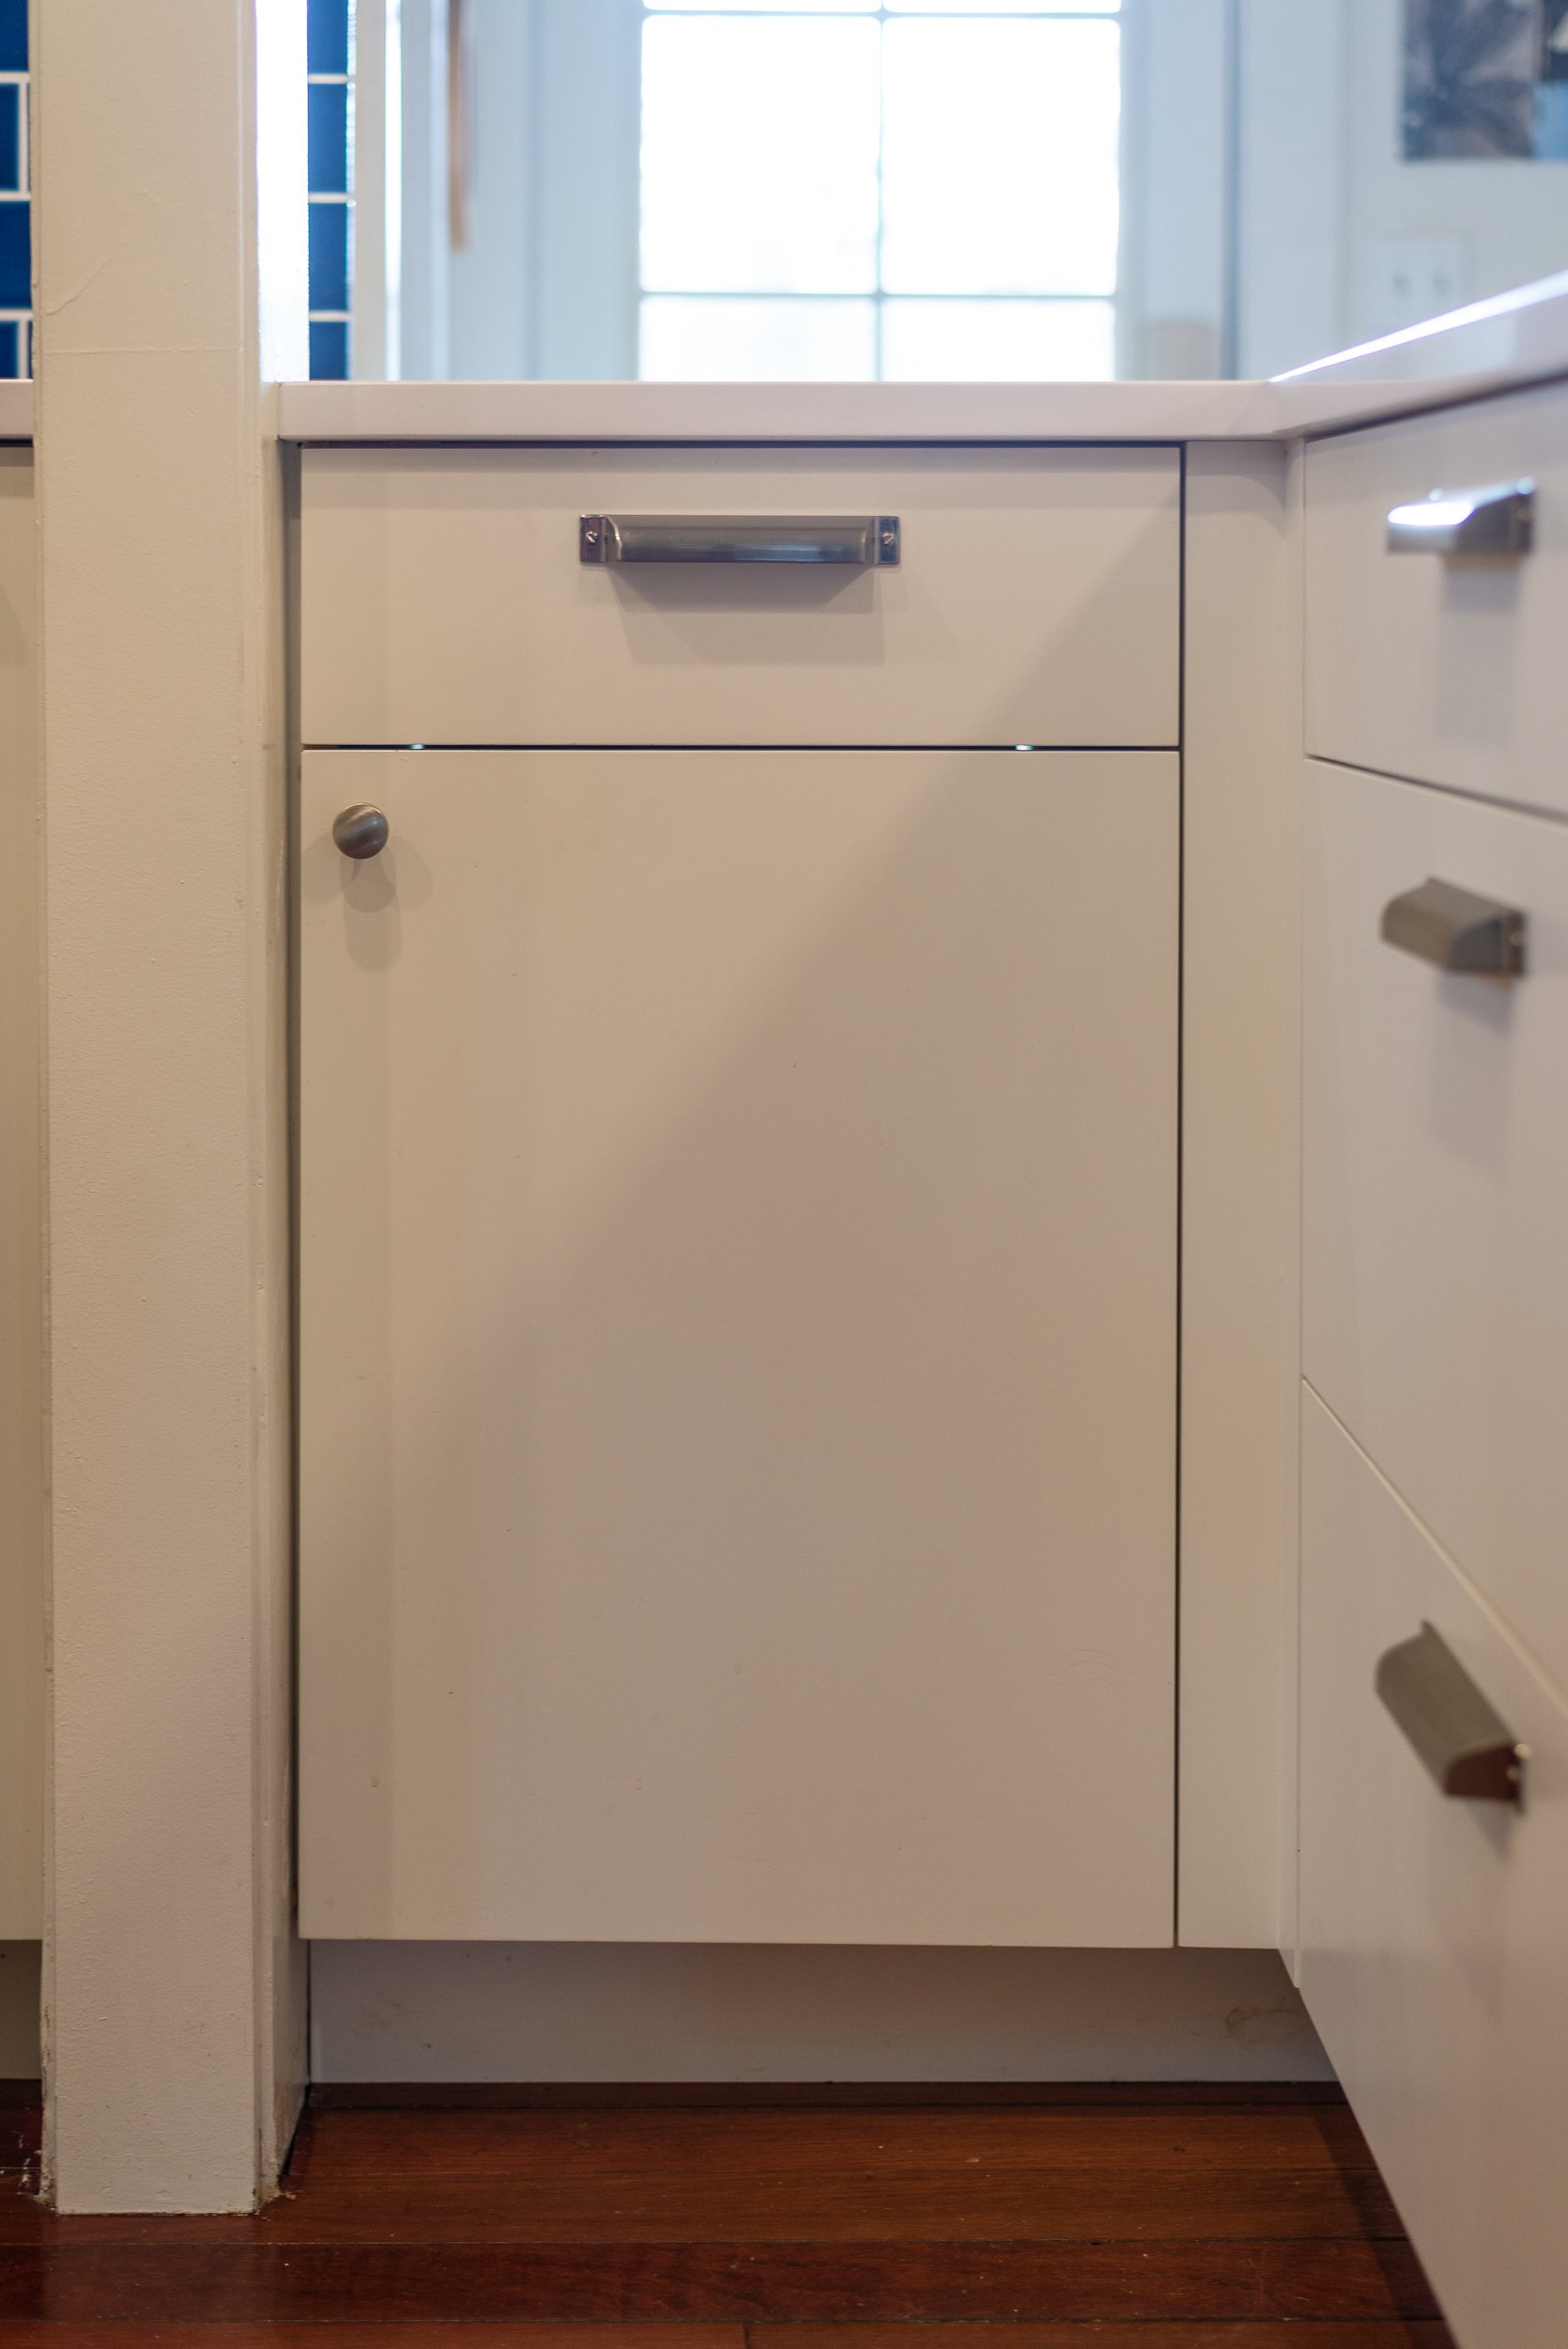
Our solution: a two-sided cabinet with garbage storage inside! This typically boring chore can now be a fun game and potentially a good spot for hide-and-seek!


Waldron Designs, LLC is passionate about designing spaces rooted in their context and responsive to the natural environment. Are you ready to create sustainable permanence with your home?
GET IN TOUCH!